Faders#
Prefer videos? Check out our YouTube playlist for video guides on how to use the plugin.
What is a fader?#
Faders smoothly change a light over time.
A fader section controls one light and contains a list of steps.
Create a fader#
- Open a pattern.
- Open Faders.
- Click Add Section.
- Enter the light name you want to control.
You can add multiple steps to a section.
Step types#
Faders have three types of steps:
Simple#
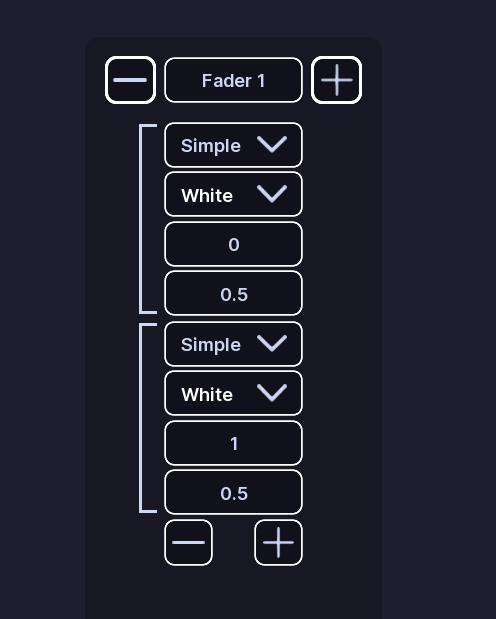
A Simple step changes the light to a target transparency over a set amount of time.
It uses:
- Time: How long the step takes to complete
- Goal: The target transparency of the light. 0 is off, 1 is fully on.
- Color: The color while the step is active. This is set as soon as the step starts.
Wait#
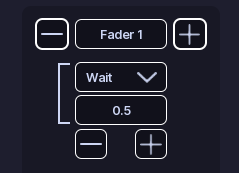
A Wait step does not change the light.
It waits for the amount of time entered in Time, then moves to the next step.
Advanced#
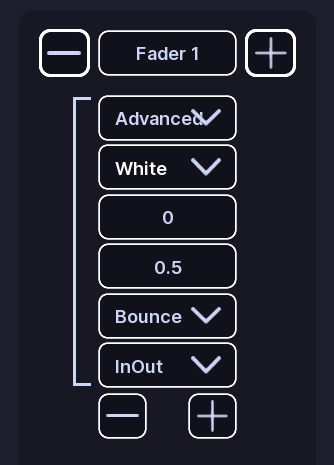
Advanced steps are very uncommon and shouldn't need to be used. Advanced steps have the same settings as Simple steps, plus:
- Easing Style: Control the Roblox easing style.
- Easing Direction Control the Roblox easing direction.
These control how the change happens.
Preview#
Preview works exactly like Flashers. Except it steps through the fader steps instead of flashing lights.
Edit steps#
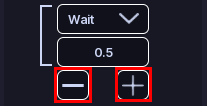
Adding or removing steps is done with the + and - buttons on the bottom of the step list.
When you change a step type, settings that do not apply to the new type are removed.
All Done!#
You have created a fading pattern for your vehicle.
Here are some recommended next steps to help you get started:
- Rotators: Learn how to create a rotating pattern.
- Siren Setup: Learn how to set up and configure sirens.
- Light Settings: Learn how to configure colors and light groups.
If you encounter any issues or have questions, feel free to contact us on Discord.