Flashers#
Prefer videos? Check out our YouTube playlist for video guides on how to use the plugin.
Great! Now that you have a pattern, let's add some flashing lights to it.
What is a flasher?#
Flashers are lights that simply turn on and off in a pattern. They are the most common type of light used on emergency vehicles today!
In our plugin flashers are represented as a grid of cells.
- Each column is a light
- Each row is a step
The wait time determines how long each row is active before moving to the next row.
Create a flasher#
- Open a pattern.
- Open Flashers.
- Click Add Section.
- Add the lights you want to control.
Enter the exact light name used by the vehicle.
Set the lights#
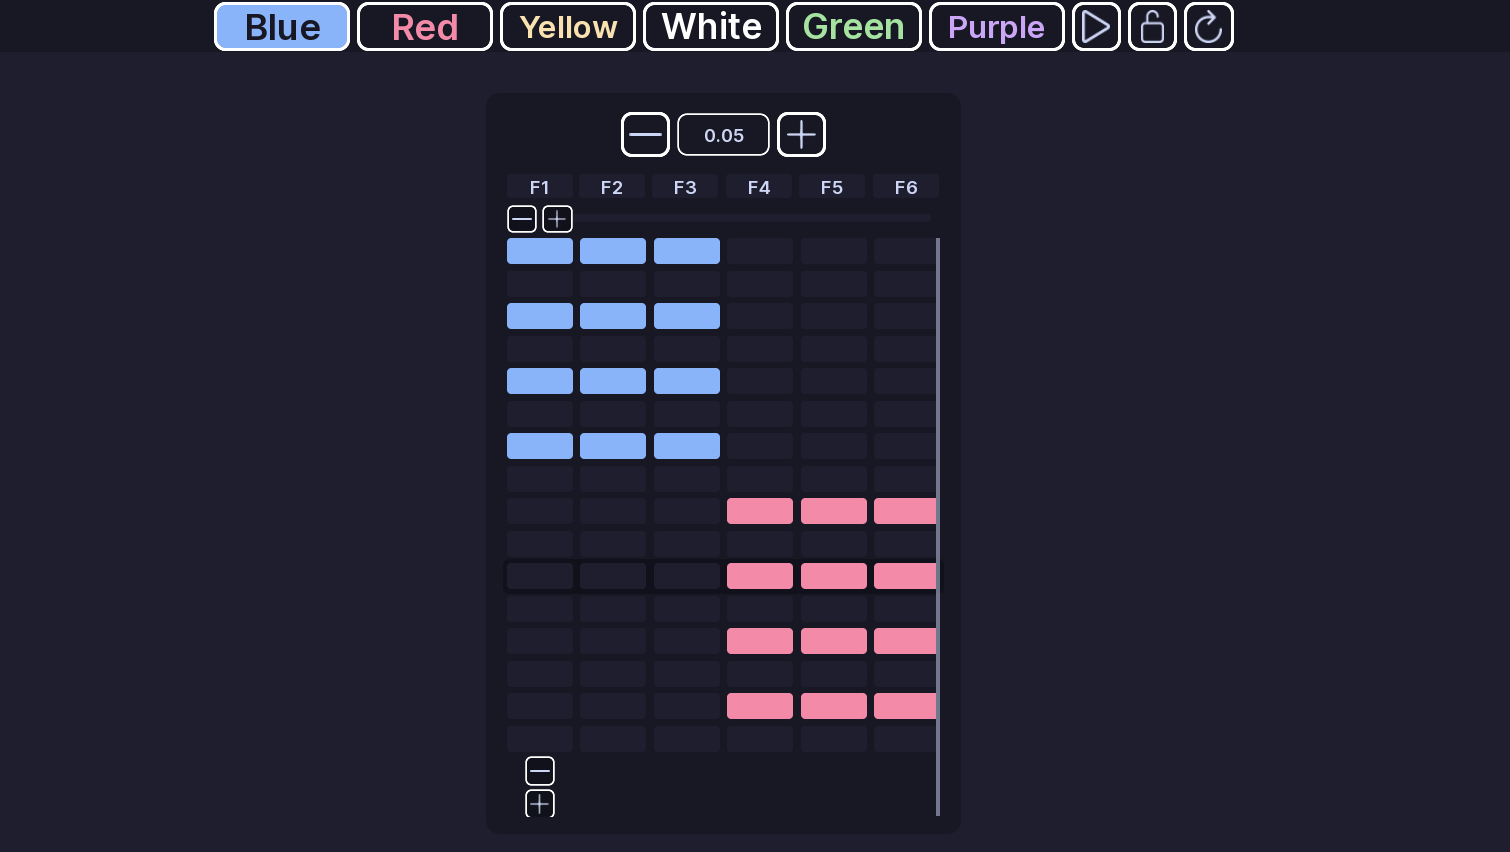
Choose a color for a cell to turn the light on with that color.
The fast way to switch colors
You can switch colors quickly by using the Q-Y on your keyboard.
Set a cell to None to turn the light off.
You can also draw across the grid:
- Left click adds the selected color.
- Right click clears the cell.
- When drawing is locked, you can limit drawing to the selected column.
Wait time#
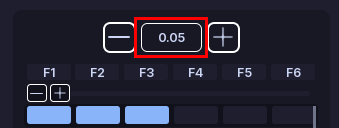
Each section has a Wait Time.
It controls how long that row stays active before moving to the next row.
A lower value makes the pattern move faster.
Preview#
Use Play button or P on your keyboard to preview the pattern.
Use Refresh button to reset the preview.
Multiple sections#
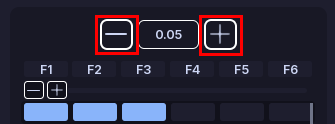
Click + button on your existing flasher section (its to the right of the wait time!) to add another flasher section.
Use the - button on the other side to remove a section. If you want to delete without a confirmation dialog, hold Shift while clicking the - button.
All Done!#
You have created a flashing pattern for your vehicle.
Here are some recommended next steps to help you get started:
- Faders: Learn how to create a fading pattern.
- Rotators: Learn how to create a rotating pattern.
- Light Settings: Learn how to configure colors and light groups.
If you encounter any issues or have questions, feel free to contact us on Discord.